Breaking News
Import Subtitles Adobe Premiere Pro
воскресенье 15 марта admin 15
Adobe Premiere Pro is a video editing software that allows you to create and add closed caption and subtitle tracks to video projects. Premiere captions can be exported as a side car file or as an encoded video file.
This step-by-step guide will show you how to add captions to your video in Adobe Premiere Pro with 3Play Media. Torrent for diablo 2 expansion cd.
How To Add Subtitles in Adobe Premiere Pro Premiere Pro gives professional and hobby video editors the tools to create intricate projects with a variety of features and special effects. One useful tool that could help you get a polished product is the subtitle or captioning tool. Oct 02, 2019 Importing Closed Captions in Adobe Premiere Pro. Import Captions File. Click File in Premiere Pro’s upper right corner. You’ll see the Import option within the lower list. Find your file. Place Captions File in Project Timeline. Enable Close-Captions.
How to Add Subtitles to Videos in Adobe Premiere & Adobe Encore
Download our free guide on captioning video in Adobe Encore and Adobe Premiere Pro:
Step 1: Submit Your Video File for Captioning
Log into your 3Play Media account. From the Upload tab at the top of the screen, select From Computer, choose your video, and follow the onscreen prompts to specify turnaround. You’ll receive an email when your captions are ready.
For additional details, read the support article on uploading videos for captioning.
Step 2: Download Your Captions in SCC Format
Go to the My Files page in your 3Play Media account and select your recording. Click Download and select the SCC format. Specify any advanced settings and save the .scc caption file to your computer.
Step 3: Import Caption File into Your Project in Adobe Premiere Pro
Open your video project file in Adobe Premiere Pro.
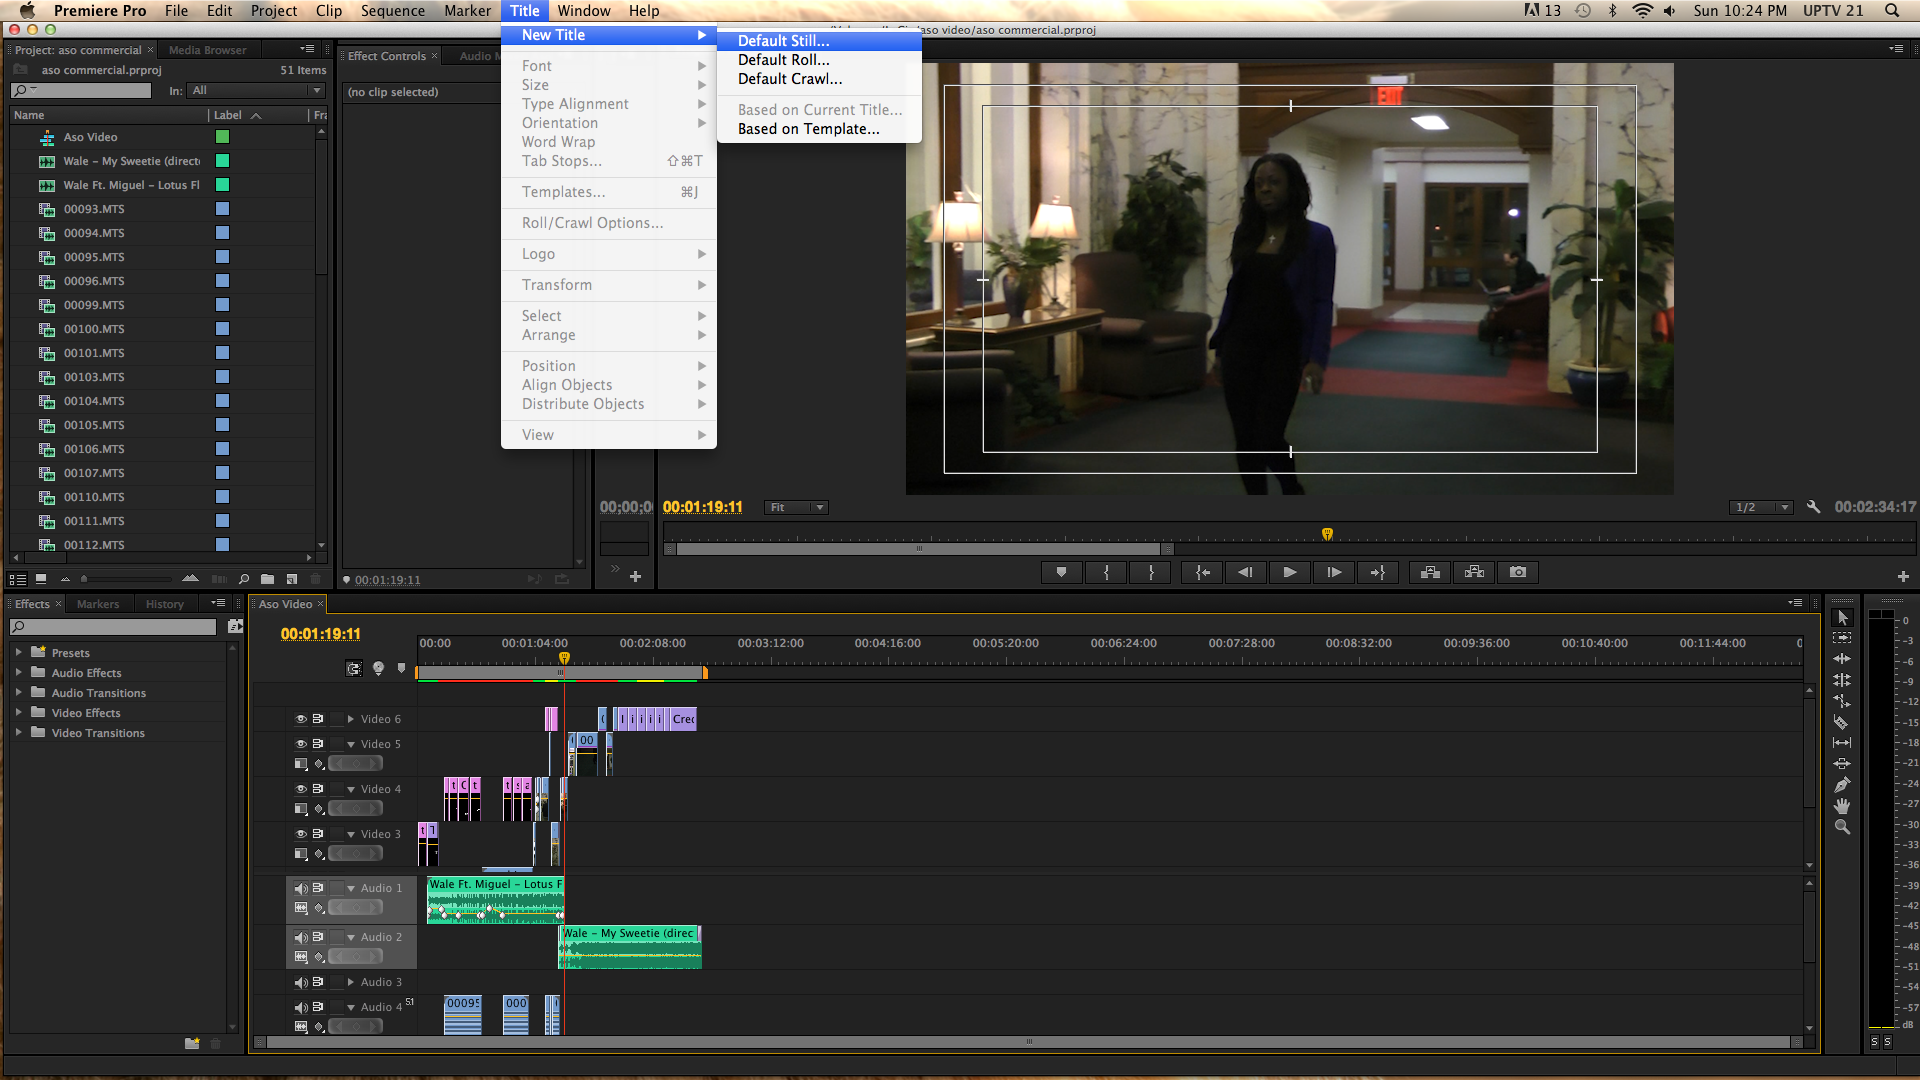
From the top nav bar, select File > Import . Select your .scc caption file and hit Open. The caption file should now appear in your project’s file list, resembling a video file with no audio. Drag and drop the caption file to the right into your video sequence.
The image below displays approximately where you should see your caption file in the file list, and where it ends up when you drag and drop it to the right.
Step 4: Enable Closed Captioning in Adobe Premiere Pro
In order to get your caption file to work when your video plays, you need to first enable closed captioning in Adobe Premiere’s program monitor.
Click on the far upper-righthand corner of the program monitor where your video displays. Scroll down and click Closed Captioning Display > Enable. Your captions should now appear on your video display in the program monitor.
Step 5: Customize Caption Display in Adobe Premiere Pro
Adobe Premiere Pro offers tools to adjust the font color, background color, line breaks, timing, and placement of your captions on your video.
To customize caption display, open the Captions Panel. Navigate to Window > Captions, and then select your caption file in the video sequence. The Captions Panel should now display where your project file list used to be.
Step 6: Export Captioned Video from Adobe Premiere Pro
When your video file is finished, you have two options for how to publish your video with captions. You can either embed the captions within the video or export them as a separate sidecar file.
How to Export Captions as Sidecar File from Adobe Premiere Pro
First, select your caption file in the sequence. Next, in the top nav bar, go to File > Export > Media. In the Export Settings popup box, select the desired file format for your video. Click on the Captions tab. Click on Export Options and select Sidecar File.
Here you have four options for caption file formats. The first two formats listed, SCC and MCC, are the most common. You can also choose SMPTE Timed Text (.xml) or EBU N19 Subtitle (.stl) formats. Select your desired caption file format and hit Export.
How to Embed Captions in Video from Adobe Premiere Pro
You can embed captions directly into a video from Adobe Premiere if you publish it as a Quicktime file.
First, select your caption file in the sequence. Next, in the top nav bar, go to File > Export > Media. In the Export Settings popup box, select Format > Quicktime. Under Export Options, select Embed in Output File, then Export.
How to Add Subtitles to Videos in Adobe Premiere & Adobe Encore
Download our free guide on captioning video in Adobe Encore and Adobe Premiere Pro:
VOB files usually exist on DVD discs, or are downloaded from movie sharing sites. As this kind of video file usually contains one or several audio tracks and subtitle tracks that are multiplexed together into one stream form, it is not so easy to be edited directly on PC or Mac. Although Adobe claims Premiere Pro lets you work with VOB files, most of time you will encounter problems importing VOB to Premiere Pro CC/CS6/CS5/CS4 for editing. To use VOB files in Premiere Pro, the easiest way is to convert VOB to a Premiere-friendly format.
To finish the VOB to Premiere Pro task, here I highly recommend this professional yet easy-to-use video converter - EaseFab Video Converter Ultimate for Mac. It lets you convert VOB files to Premiere Pro supported file format without losing any quality in a few clicks! Three Premiere presets are included for easy access. Besides, it also provides professional encoders for Final Cut Pro, iMovie and Avid. If you're editing VOB files in Premiere Pro in Windows, please turn to EaseFab Video Converter Ultimate for help. See how below about converting VOB files to Premiere Pro format on Mac OS X (Yosemite and Mavericks included).
Download the VOB to Premiere Converter:
How to convert VOB for editing in Premiere Pro CC/CS6/CS5/CS4
Step 1. Import VOB files to the program
Hot navel pics xossip. Open Finder, and then locate and drag the VIDEO_TS folder containing your VOB files to this VOB to iMovie video converter. All movie titles or just the main movie (depending settings in the Preferences) will appear in the item try.
Step 2. Choose the optimized preset for Premiere
The program has three already optimized the video settings for Adobe Premiere Pro. You can select MOV (Entitled Premiere), WMV or MPEG-2 from 'Editing Software' as the output format. All output videos will keep the original quality of VOB video and seamlessly fit Adobe Premiere Pro CC, CS6, CS4, CS4 and more. Here we recommend you choose MPEG-2.
Step 3. Start VOB to Premiere Pro conversion
This VOB files to iMovie converter will convert VOB files rapidly, preserving 100% original quality. When finished, the output file is ready for being imported to Premiere Pro for editing. All Adobe Premiere versions are supported, including Premiere Pro CC, Premiere CS6, Premiere CS4, Premiere CS4, etc.
